
Erica of Erica’s Edibles was our host for the Daring Baker’s June challenge. Erica challenged us to be truly DARING by making homemade phyllo dough and then to use that homemade dough to make Baklava.
Baklava. Not a dessert that I usually raise my hand for. At least not until I saw that I could change up the ingredients so that instead of being drenched in honey and over the top sweet I could substitute chocolate, a variety of nuts, and a less sweet syrup. Now my hand might just be raising.
I believe this was my first go round of making baklava, but for some reason I am not 100% sure. I know that probably sounds a bit strange, not remembering if I have ever made something before, but I can't remember if I made this in a high school home economics class or when I was younger. I seem to have some vague recollections of making baklava. Either way, I know that I had never made homemade phyllo dough. That was definitely going to be a challenge.
I think I gave myself some practice with patience and rolling dough when I made homemade whole wheat tortillas for our breakfast burritos that morning. When it came time to roll out my phyllo dough I felt like I was very calm, cool, and collected which is exactly what I needed to be in order to have a successful experience. What I didn't realize was that it was going to take me over an hour and a half to roll out 18 sheets of very thin dough. Over 90 minutes! Yikes! I was somewhat surprised that the time actually went by pretty quickly.

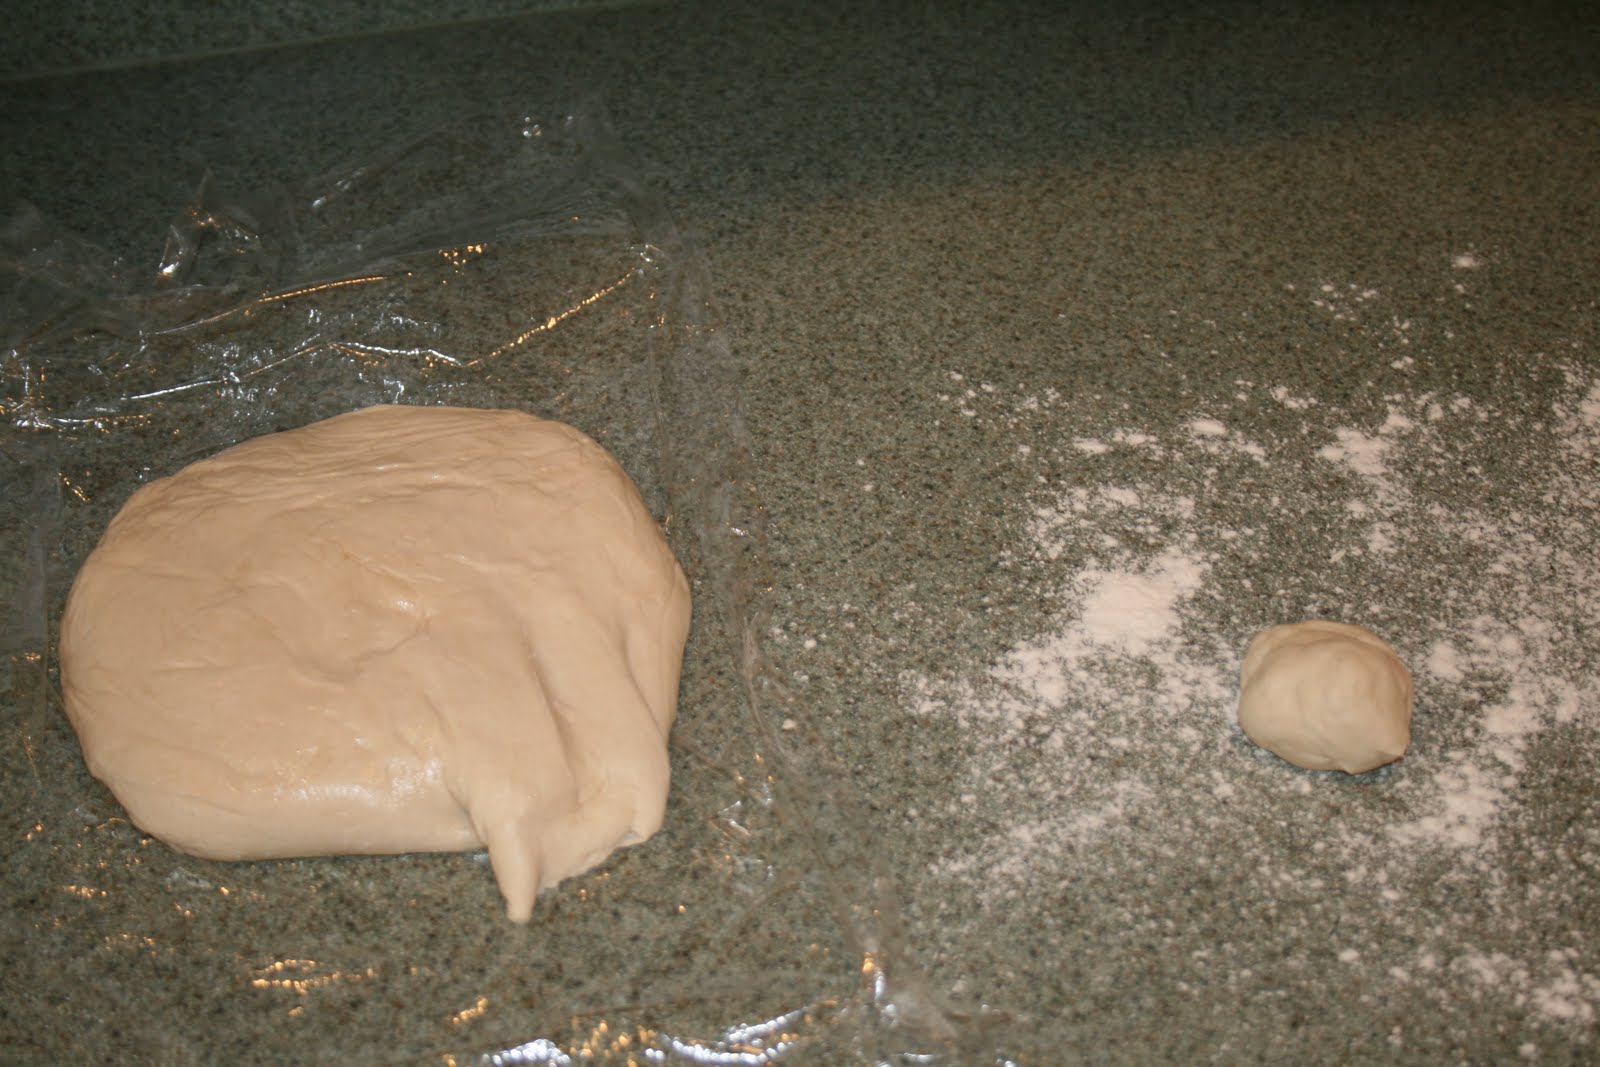

I decided to break my dough into 18 small balls ahead of time to make sure that I had enough dough to do all the layers I wanted. I am sure I didn't get them as transparent as some people were able to but I was very pleased with how they turned out. My one big mistake was not layering them with wax paper between the layers. I thought that because I generously floured them they wouldn't stick together. I even checked between layers every now and then to make sure that I could get them apart easily. And still . . .


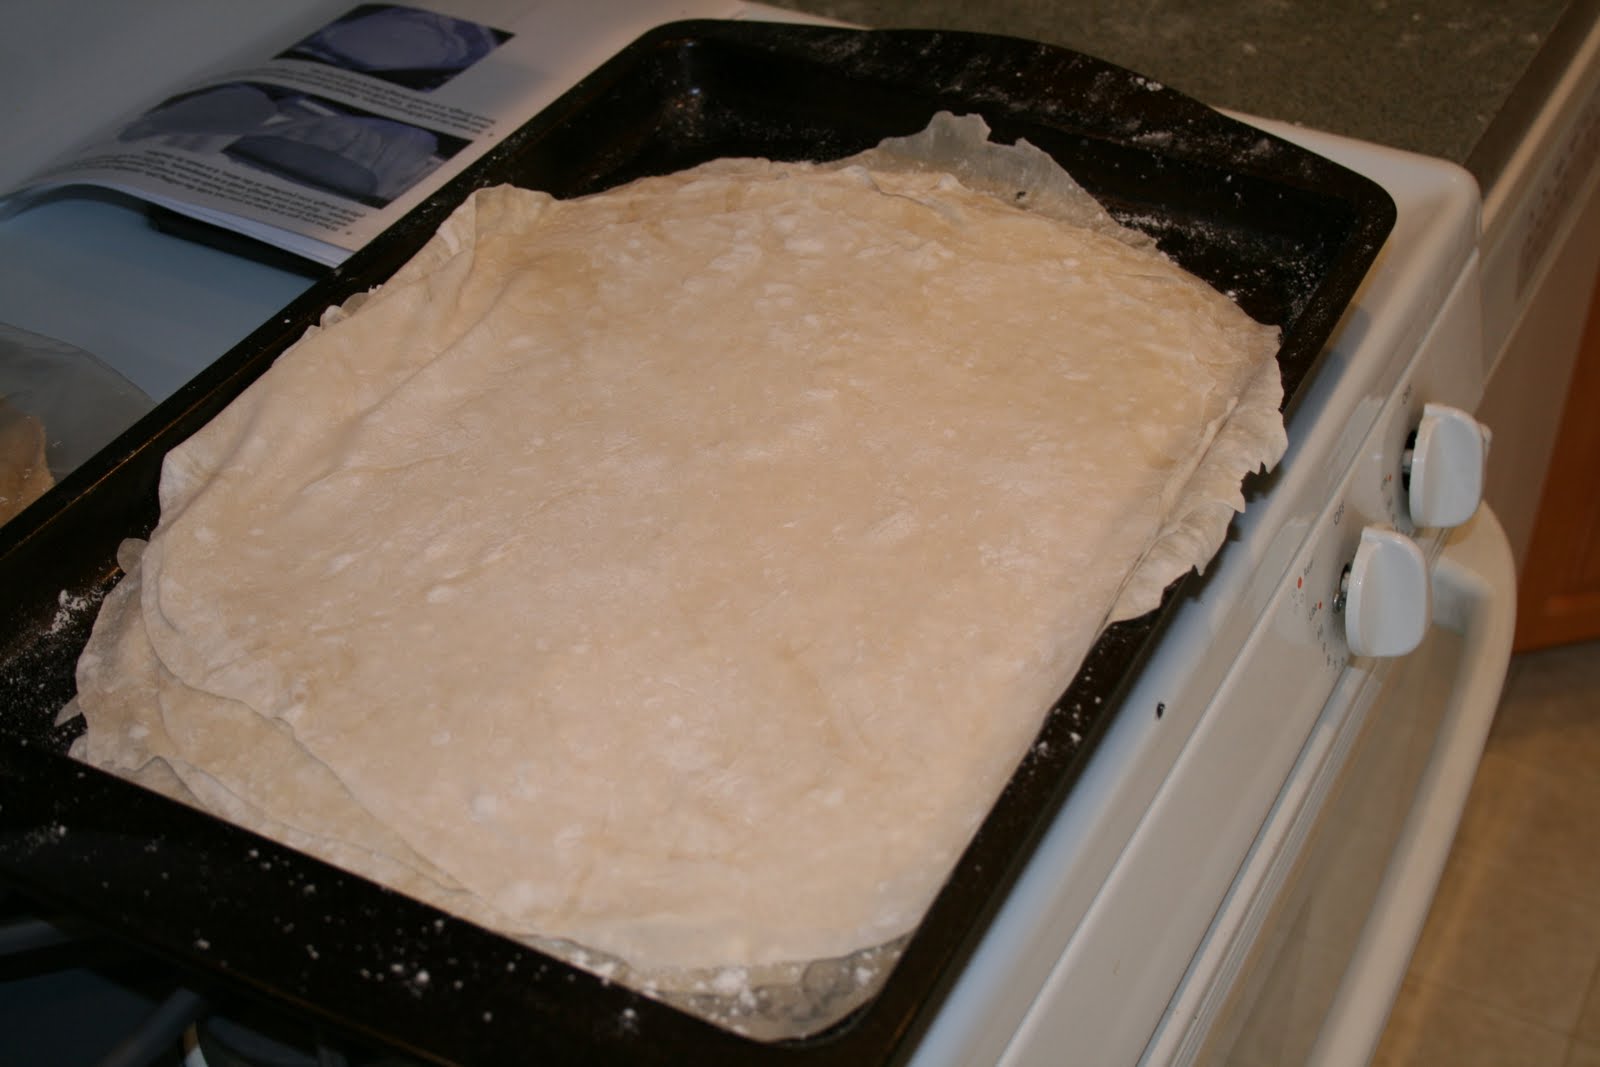
. . . they managed to stick together. It wasn't really apparent until I got to the stage of cutting the sheets to fit the size of the pan. I used a pizza cutter thinking that would be the best way to go but I was sorely mistaken. Between the warm kitchen and the blade of the cutter and the weight of the sheets on top of each other the edges adheared together. The center of the sheets were still separate but the edges became one.


The first few came apart fine. In fact, I was a bit giddy with how smoothly it was seeming to go. After the first layer of 6 sheets my joy was quickly overshadowed by frustration. By the time I came to the last few sets of layers I was literally peeling off strips and piecing them together. It felt a bit like I was wrapping a mummy. I had to use the scraps which I was going to save to make into another pieced together dessert but that's okay. At least I didn't have to re-roll any sheets or start from scratch.


Next step, toasting the nuts and getting together the ingredients for the filling. I chose to use nutella and a combination of toasted hazelnuts, toasted walnuts, toasted almonds, and roasted pistachios. I was also a bit surprised by how long it took me to do the layering. Then there was the cutting. All together another 30-60 minutes before getting it into the oven for baking. After the baking was done the syrup was poured on and it was allowed to sit and sit and sit. As the syrup sits it oozes down into the lower layers until everything has been coated. You can see below the baklava before baking, after baking, and after syrup.


Even though the baklava is supposed to sit overnight in order to absorb the syrup you can imagine that it wasn't very long before we felt the desire to do an informal taste test. Just consider it part of research, you know, the need to check the taste and texture right after baking, after sitting for a few hours, and after sitting overnight.

Overall I was happy with how this baklava turned out. It was a lot of work to roll out all the sheets of phyllo dough but I'm glad I did it. Will I do it again? Not sure. If I do, I will probably use refrigerated dough since it is faster and I don't know that people would be able to tell the difference. And as I said before, I am not a big baklava fan in the first place so I will probably use my other opportunities to expand my repertoire.

Baklava
Phyllo Dough
Makes 18 sheets for 9x9 pan
1 1/3 cups unbleached all-purpose flour
1/8 teaspoon salt
1/2 cup less 1 tablespoon water, plus more if needed
2 tablespoons vegetable oil
1/2 teaspoon cider vinegar
In the bowl of your stand mixer combine the flour and salt. Mix with paddle attachment.
Combine water, oil, and vinegar in a small bowl. Add water and oil mixture to flour with mixer on low speed. Mix until you get a soft dough. (If it appears dry, add a little more water.)
Change to the dough hook and let knead approximately 10 minutes. (20 minutes if you are kneading by hand)
Remove the dough from the mixer and continue to knead for 2 more minutes. Pick up the dough and throw it down hard on the counter a few times during the kneading process.
Shape the dough into a ball and lightly cover it with oil. Wrap tightly in plastic wrap and let sit 30-90 minutes (longer is best).
Unwrap your dough and divide into chunks slightly larger than a golf ball. Keep the rest of the dough covered so it doesn't dry out.
On a heavily floured surface, roll out each chunk of dough until it is as thin as you can get it. Continue adding flour (you can't over flour), and it's okay if you get rips in the dough since you just need the top piece to be perfect.
When you get the dough as thin as you can, pick it up and place it on a well floured surface. I would suggest putting wax paper between layers if you don't want the edges to stick when you cut to size.
Trim phyllo sheets to fit in your pan. Set aside.
****
Filling
1 cup hazelnut-chocolate spread (such as Nutella) 1/2 cup toasted hazelnuts, coarsely chopped
1/2 cup roasted pistachios, coarsely chopped
1/3 cup blanched toasted almonds, coarsely chopped
1/3 cup toasted walnuts, coarsely chopped
1/2 teaspoon ground cinnamon
1/8 teaspoon salt
1/2 cup melted butter
Preheat oven to 350°.
Place hazelnut-chocolate spread in a microwave-safe bowl; microwave at HIGH for 30 seconds or until melted. Combine hazelnuts and next 5 ingredients (through salt).
Brush 9x9 baking pan with melted butter. Repeat procedure with 5 phyllo sheets and butter. Drizzle about 1/3 cup melted hazelnut-chocolate spread over phyllo. Sprinkle evenly with one-third of nut mixture (about 1/2 cup). Repeat procedure twice with 4 sheets of phyllo, butter, hazelnut-chocolate spread, and nut mixture. Top last layer of nut mixture with remaining 5 sheets phyllo, each lightly brushed with butter. Press gently into pan. Tuck in all the edges to give it a nice appearance.
With a sharp knife cut baklava into desired shapes and number of pieces. (If you can't cut all the way through you will be able to cut it later.) A 9x9 cuts into 30 pieces nicely. Brush top layer generously with butter making sure to cover the entire area and every edge.
**Make syrup while baklava is baking**
Bake at 350° for about 30 minutes; remove from oven and cut again all the way through. Continue baking until golden brown (for me it was about 5 more minutes, for some about 30 minutes). Remove from oven.
Drizzle honey mixture over baklava. Cool in pan on a wire rack. Cover; store at room temperature.
Syrup
3/4 cup honey
1/2 cup water
1 (3-inch) cinnamon stick
Combine the first 3 ingredients in a medium saucepan over low heat; stir until honey dissolves. Increase heat to medium; cook, without stirring, until a candy thermometer registers 230° (about 10 minutes). Remove from heat; keep warm. Discard cinnamon stick.


